Wednesday, June 25, 2014

28 mm Scifi Vehicle Comparison

Size Comparison of a Few SciFi Vehicles Available Commercially

Inspiration

Dentatus posted a size comparison of six vehicles from various manufacturers on TMP and I wanted to show some vehicles other than the ones he showed.  Please forgive me, but his photos were much better than mine, but I think that mine still are helpful.  Also, please understand that these are not all of the different vehicles I have, just the ones I could get to fairly easily.

Materials

Just the vehicles themselves and a lot of my time.

The large tan vehicle is an Imperial Guard Baneblade from Epicast, I believe.  This is an excellent model with relatively few pieces and extremely sturdy.  I do not believe that this vehicle has been in production for many years and I acquired this one off of ebay.

The vehicle on the front at left is a very nicely designed AT-43 Oni Medium Tank, I believe. The entire line of Oni vehicles, of which I have five different, are very well made and come prepainted.  As of the writing of this post, these vehicles are no longer in production, but may be found on ebay, or sometimes on TMP.

The vehicle next to the Oni vehicle is a Leman Russ Tank from Games Workshop, and these are still in productionl

The very small (by comarison) four wheeled vehicle between the Leman Russ and the body of the Baneblade is a Junkers Dune Buggy.  There are five or six variants of this vehicle available.  The line was originally produced by I-kore, but is currently made by Scotia Grendel.  It is a very nice vehicle, but you need several of them.

As with all of the photos I have in this post, the miniatures shown are an Assault Arakton from Scotia Grendel (a very nice miniature), a Hydrissian from Alpha Forge Games (but who produces them now, I am unsure), and an old Bauhaus Seal Lion from Warzone (alas, no longer in production, but possibly available from Prince Autust).


The vehicle on the left side of the photo is a Kryomek Tracked Heavy Spore Launcher from Scotia Grendel.  It is a very nice vehicle and the line is the only one that is available for Tyranid or Kryomek type miniatures. There are several variants - the tank, an APC, a missile launcher, and a bio tank.  They come in tracked and hover varieties.

The vehicle next to the Spore Launcher is a Wheeled Tank from the Nexus line of Kryomek miniatures by Scotia Grendel. These are very nice vehicles, but they are a little bit small as compared with the other vehicles shown.

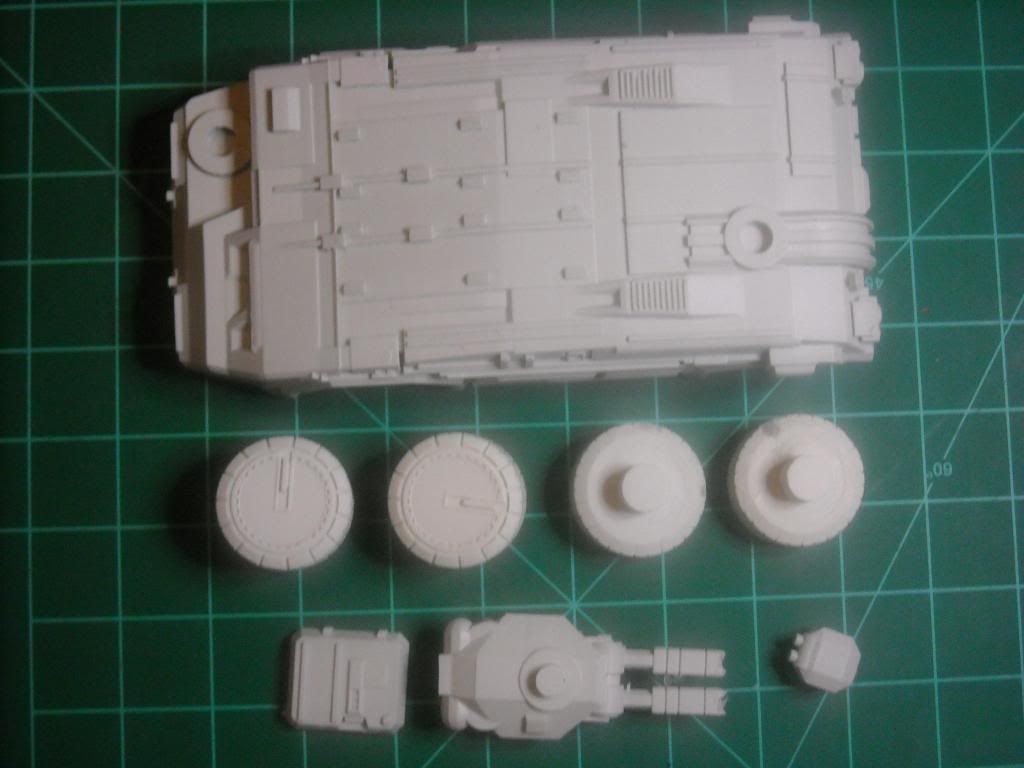
The vehicle next to the tank is the Hover APC from the same Nexus line from Scotia Grendel. The turret can be seen in fron the the upper hull of the APC. There is also a metal hatch, an antenna, a machine gun, and a minigun which can be attached to the turret.

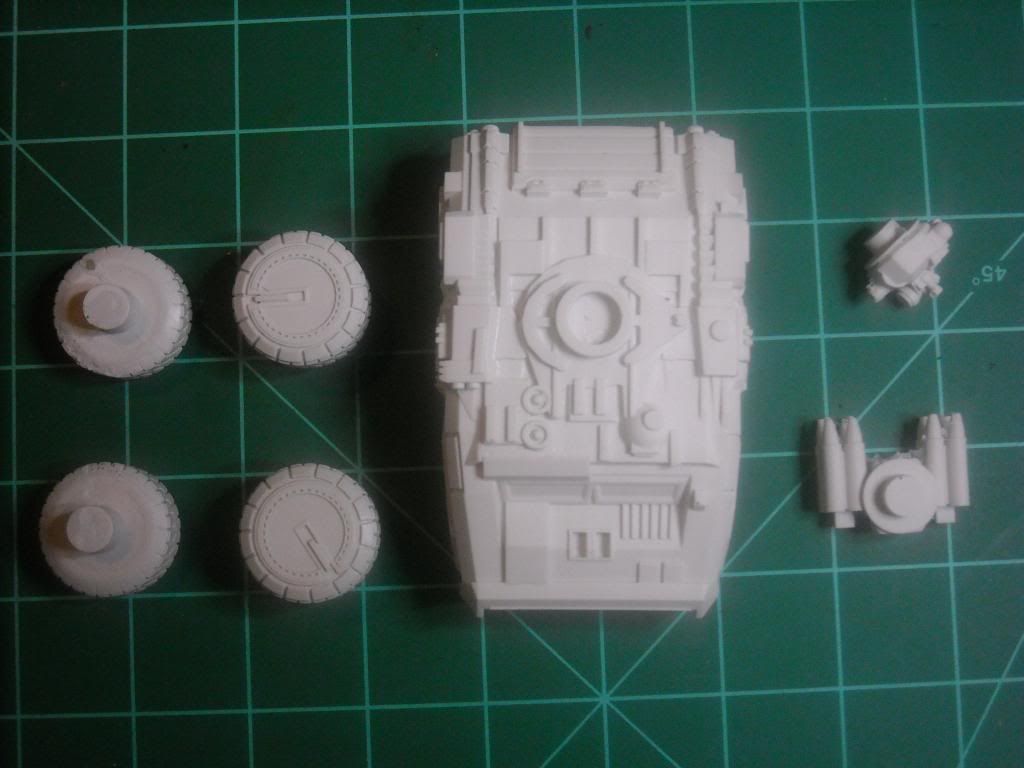
The vehicle on the left is a Scorpion Battle Tank from Armorcast.  I have two more types of vehicles from the same line based on the same chassis - a missile launcher and a rocket launcher.  These are very well made, but not all of them are currently available from Armorcast.  There is another vehicle which I do not have - a Scarab APC - which is very nice.  Contact Armorcast and request that they bring the Scarab back into production as it is a very nice vehicle.


The vehicle on the left is a Syntha Cyclops Hades Grav Tank by Scotia Grendel.  There is also a Nemesis Grav Tank, which I have not pictured.  They are very nice, but also somewhat small, as the Syntha do not have actual "crew" since the tank is run by AI.

The vehicle next to the Cyclops is a VASA Tau Mk III.  It was originally make by I-kore, but is currently manufactured by Scotia Grendel.  I have only shown the rocket launcher turret as I can not find the mingun turret...sorry.

The vehicle next to the Tau Mk III is a VASA Ronin.  I have only shown one chassis because it is the same for all three variants.  The group of metal parts at the top on the right are the ones that are used to make the APC variant, the group of parts in the middle on the right are for the Heavy Assault Ronin, and the parts at the bottom on the right are the ones for the Riot Control Ronin.

The tan miniature at the bottom is a very nice Sentry Robot from Armorcast, which, sadly, is no longer in production.  Again, contact Armorcast to get this miniature back into production please.

Something that I had originally forgotten to mention was that you can not just buy the APC variant.  You actually have to purchase the Minesweeper Ronin, and leave off the minesweeper parts.  Somewhat unfortunate since the minesweeper parts apparently cost 5 British Pounds more.


The vehicle on the left is the Merkave Mk VII by Antenociti's Workshop.  It is a very nice tank, but last time I checked was no longer in production.

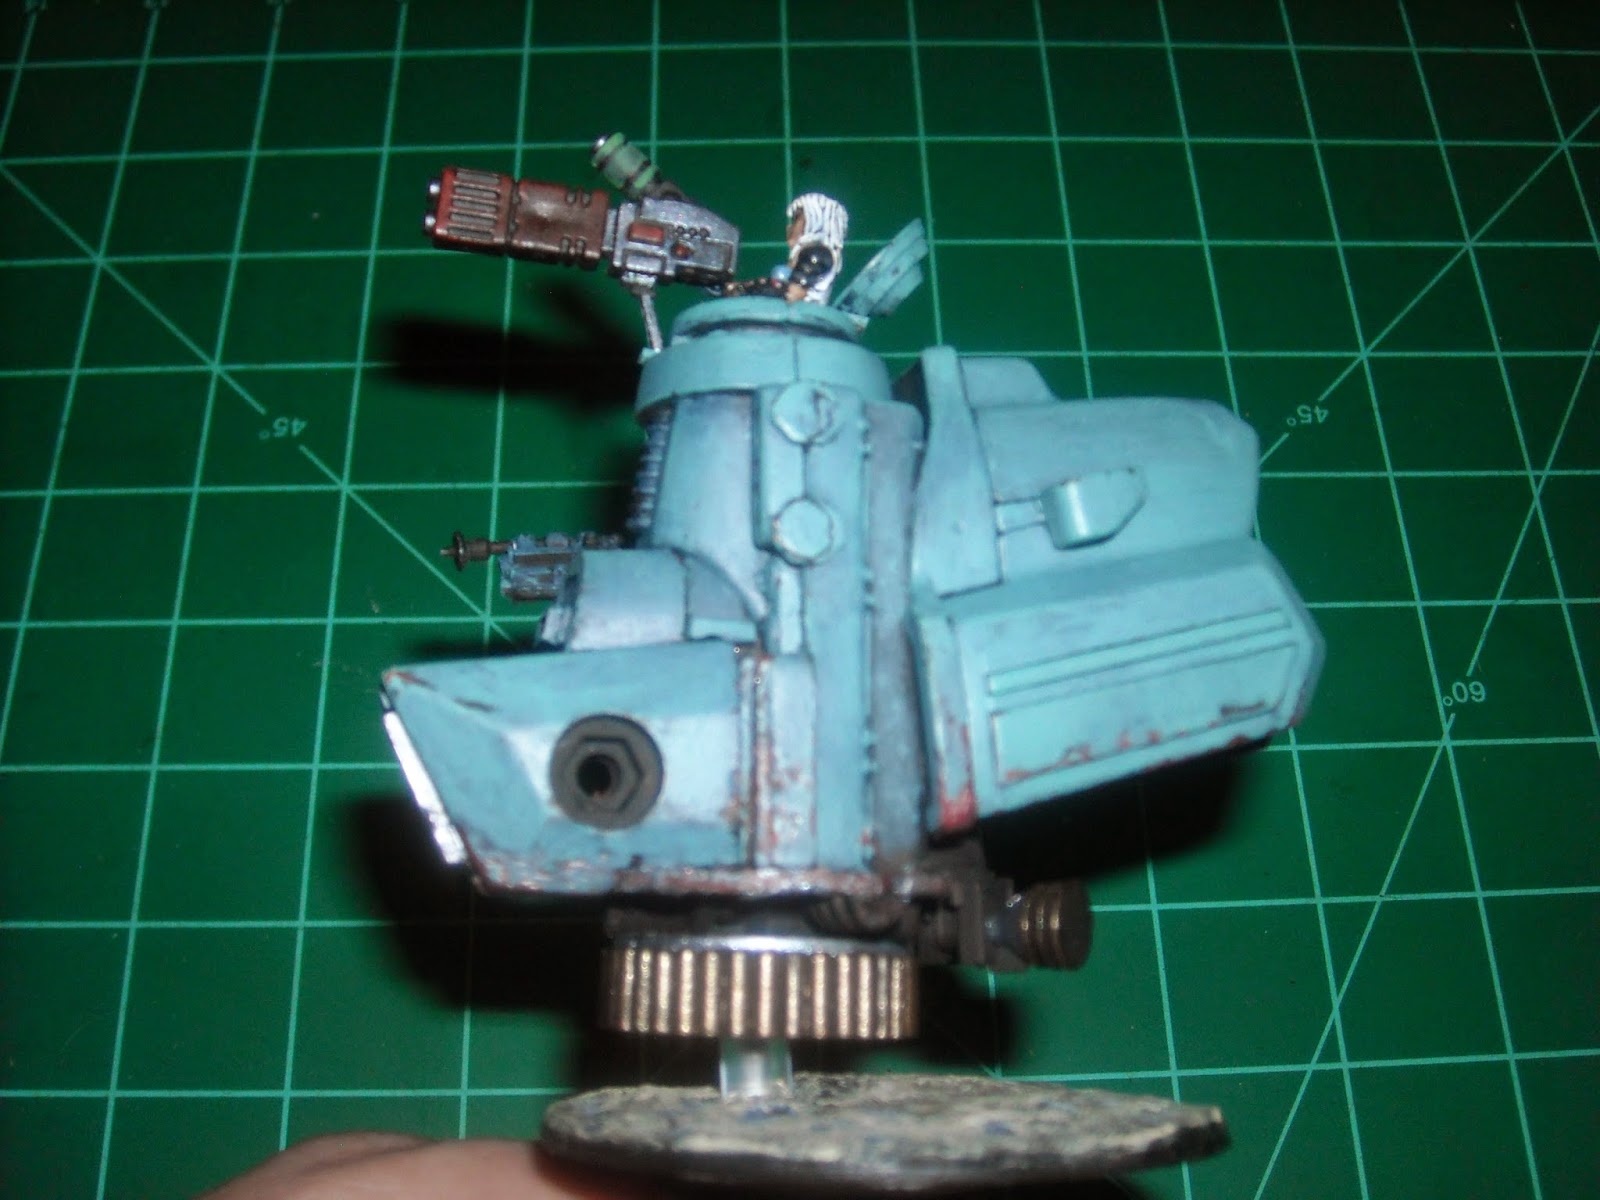
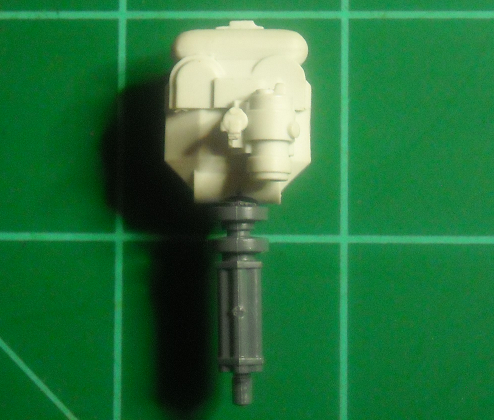
The turret to the left of the blue chassis is the one for the Bucephalus Grav Tank also by Antenociti's Workshop.  I did not show the entire tank because the chassis is much the same for both tanks.  In my opinion, this is the best hover tank on the market right now.

The vehicle on the right is the Novaya-Rus Skorpion Light Grav Tank, also from Antenociti's Workshop.  It is a very nice tank, but it is difficult to find the proper placement of the skids.  All of the metal pieces below the chassis and skids belong to the Skorpion.

Antenociti's Workshop also makes some other very nice vehicles - I really like their Warthog ADV and Viper Armored Reconnaisance Vehicle.  I have some of each, but could not get to them very easily.  Their entire line of vehicles is really very nice.


I failed to add the last two comparisons I had - the Khurasan Caiman and Bobcat.  Unfortunately, when I originally set these two up, I was preparing a post to put on Dakka Dakka, so I did not use the miniatures I have used in the other pics, but the cutting pad is the same as in the other photos.  I have also included a slight modification I made to the minigun, swapping it out for a Games Workshop Assault Cannon.

The top one is, of course, the Caiman.  It is an excellent vehicle, but at about 8 inches long is quite large.

The Bobcat is about 7 inches long but is still a very large vehicle.  These are both exceedingly well made vehicles, the only problem being the undersized minigun in the turret at top right.

As can be seen in the two photos below, I have removed the minigun that was part of the turret and replaced it with the afforementioned Games Workshop Assault Cannon.


These are actually toys, which I feel are really an underutilized source of vehicles for gaming.

The three yellow vehicles at the left are the bodies of Wall-e robots from the Disney movie, I have just removed the parts I do not want.  These will eventually be APCs for different races in my games.  The smallest one is for my Grymm, the medium sized one will be for humans, and I have no idea about the big one...maybe for my scifi ogres from Bronze Age Minis.

The remainder of the vehicles are from the line of Atlantis toys.  There is a small tank which is also some sort of bridge layer, a supply truck, Cookie's chuck wagon, some sort of drilling or mining vehicle, and the one in the front is an armored car.  You can use the figure that come with the vehicles as they are very close to 28 mm scale.  The miniatures I removed from these vehicles often make appearances as gunners or tank commanders in some of my other posts.  You can get these from a resale shop,k


These vehicles are a very nice line that was available from Matchbox a few years ago. The two blue vehicles on the left were from a police set, the two blue, white, and silver vehicles at the bottom are from an arctic set, and the yellow vehicles are from some sort of mining set IIRC.  I am currently making a land train from the yellow pieces, so the "engine" part has been taken apart, the wheels and various pieces shown.  I have had to acquire these on the second hand market, so sometimes parts are missing.  Since I am going to convert all of these toys, missing parts is really no big deal.

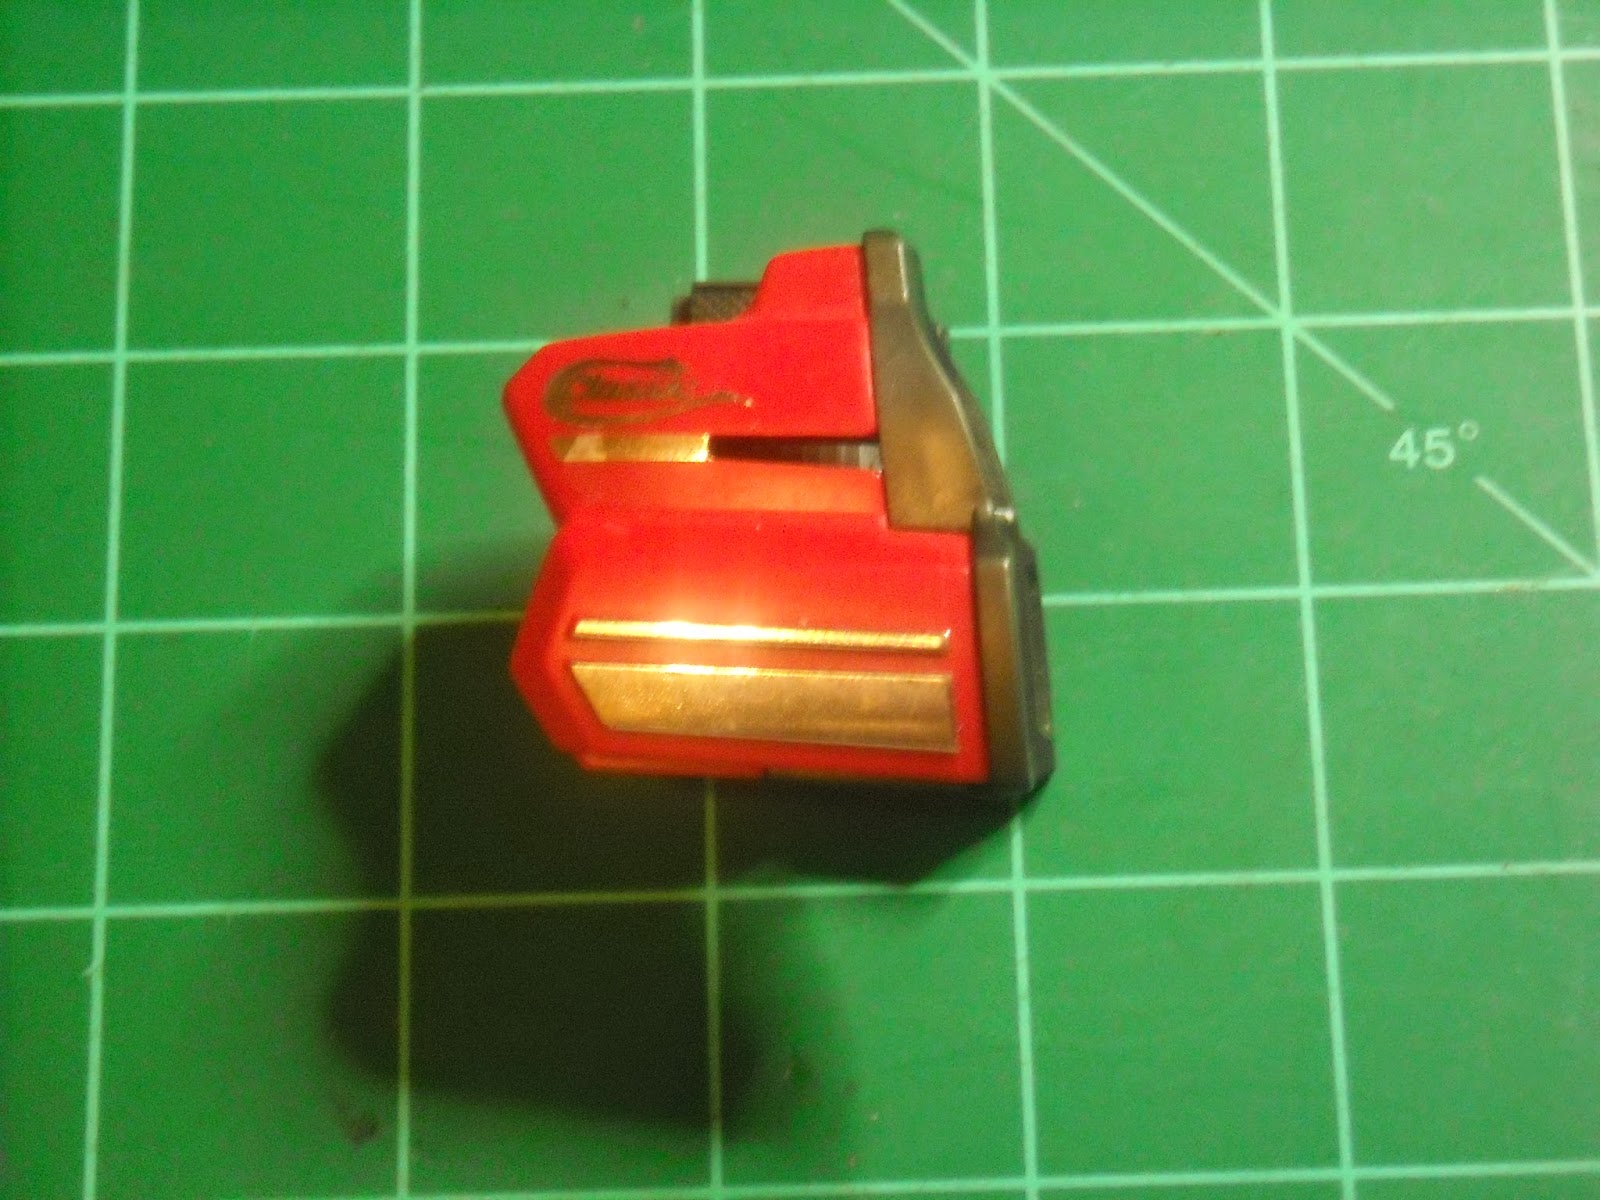
The very small tank at the bottom on the right is a GI Joe ratpack vehicle which I have reappropriated to be a squat tank.  I have a separate post about its conversion.


Monday, June 23, 2014

Hole Cutters are very useful Tools

Hole Cutters

Inspiration

I have a lot of types of hole cutters in my life - only some of them are suitable for cutting holes for hobby purposes.  When I cut a disc, I want to keep the part of the hole that is cut out and am not interested in how nice the hole that is left turns out.  I wanted to go over some hole cutters so that others could avoid wasting money trying different types.  The main problem with using hole cutters, however, is that the central drill bit will drill a hole in your material, but some of these can be adjusted to keep from having to use the drill bit as a pilot. Caution must be used if you are going to do so as the hole cutter could "travel", or move, across your material.

Materials


Here are the hole cutters I have used most recently. From the right, they are 1) Milwaukee thin wall hole cutter, 2) Vermont American hole cutter, 3) Bulldog hole cutter, 4) hole cutter of unknown make, and 5) Great Neck hole cutter. Numbers 1, 2, and 3 are recent purchases, while numbers 4 and 5 I have had for many years.  The key to a good hole cutter is more teeth per inch, or tpi, especially for harder, more brittle plastics.

Number 1 is a very good disc cutter, however, because of the thin wall, they are only made in "relatively smaller sizes - the one pictured is 1 3/8ths inches and was the largest one I could find at the local Home Depot.
Number 2 may be very good at cutting holes when you want a nice hole, but is horrible for cutting discs. This is primarily due to the very low tpi.
Number 3 is the most typical type of hole cutter I have owned.  It is nicely designed to get a nice hole, but not so nicely for the disc.  One reason is because the teeth alternately are bent inward and then outward, which causes a lot of waste for the materials you are using.
Number 4 is a very nice hole cutter even though having low tpi.  There are only three cutting blades on this hole cutter, but the nice thing about this hole cutter is that it is adjustable from 1" to 2 1/2".  I am sorry that there is no manufacturer markings on it, but I bought it about 20 years ago at a discount hardware store which no longer exists.  If storage or cost is a problem or it is important to have sizes that are not determined for you, then this is the hole cutter for you.
Number 5 is probably the best hole cutter I have if I want to keep the disc, which is my goal. The rings in front of the hole cutter are the blades and they fit into circular grooves of the piece that holds the blades.  I originally thought that this would be a very poor hole cutter, but it is probably as good, or better, than Number 1 (the Milwaukee).  The discs end up being very smooth and very round, and for storage, all of the blades can be inserted back into the holding device.

A Hover Delivery Van

A New Vehicle from My Warped Mind

Inspiration

I had been looking for this piece for a few weeks, and finally found it.  It is the storage compartments for a 1/24th scale (I guess) road bike.  I had wanted to use it on one of the two previous vehicles I made, which I am still painting so have not posted yet, but I could not locate it.  I have, literally, tens of thousands of bits to use, so sometimes locating a particular piece can be difficult. Anyway, I found it a few days ago while looking for parts for my TX-55 Mech, so I had it sitting out.  This piece is the only inspiration I have so far, but if I can find the right shapes, it should turn out nicely.

Materials


This is all I have to start with.  If you notice, in the second photo the place where it attaches to the motorcycle is angled back. After looking at it, I have decided to make something like Boba Fett's ship, Slave 1, from Star Wars, with the back being angled up from the cockpit.  I have not decided the mode of propulsion - tracks, wheels, skis, or hover - I will consider it later.  First, I need to find the type of cab I will use.  Looking at the piece, I need to find something that is either cigar shaped and probably about two inches long.  A cyllindrical object would work well, but I am concerned about room for the crew of two.  I will post more when I have found the right shapes or objects to continue working on the vehicle.


Here are the four components that I am starting with - the storage compartment is at the left, the piece next to it is from a GI Joe machine gun, the piece next to that is a disc I cut from a large shuttle (it may be a GI Joe piece too), and the piece on the right is the front of some sort of space fighter - it is, in fact, the front of the GI Joe Cobra Stellar Stiletto. Unfortunately, the piece I am using looks a lot like an internal combustion engine.  I had to remove some pipes that were attached to each side.


I was looking for something to make my cockpit with and I found the part I wanted.  I then went to find a inexpensive utility knife I had been given, and I decided to use the handle of the utility knife instead. It is made from styrene, so it should work just fine.  I decided to use the smaller end of the knife and save the larger end for another project.  I had to insert two 20 mm strips of plastic between the two halves in order to achieve the proper width.  The insertion can be seen in the front view with the black strips above and below the grill.
Here is the right side view of the project so far.  I am almost finished, I just have to add a hatch for the gunners compartment and fill in some places where my cuts were not as good as I would have preferred.  The gray piece at the upper right side of the cab is from a GW Space Marine speeder kit.


This is the front view of the vehicle.  The grill was from an old piece of electronics, but what type, I do not know.  You can see the black plastic strips above and below the grill.  The roof of the cab was made from the gray "mailbox" two photos above.  The windshield is a piece of scrap plastic.

Here is the left side view of the vehicle.  I like how it has turned out so far.  Soon, I will be painting it, than I will add the finished photos to this page.


Here is the front view of the new vehicle.  It is not entirely finished, but is very close.


Here is the right front of the new vehicle.
Here is the left front of the new vehicle.
Here is the left side of the vehicle.
Here is the right side of the vehicle.


The Finished Vehicle

The left side of the vehicle. Before anyone asks, the gunner is a repainted and converted figure from the Atlantis movie.
The right side of the vehicle.
This is the front view of the finished vehicle.
This is the large robot I will be using with this vehicle.  It is a part of a toy that I found and is made of a strange hard plastic and a soft rubbery plastic.
This is the right side of the large robot.  I created this vehicle to use in Salvage Dog games, so I needed a hover robot to go with the hover delivery van.
This is the left side of the robot.
This is a view from the top of the hover delivery van and the hover robot.

Friday, June 20, 2014

Circle Template

Making a Template to Cut Circles Around Conical and Spherical Objects

Inspiration

On my latest project, I am having to cut circles around some conical objects.  I usually just use a plastic template, I purchased my templates at Hobby Lobby, but I had to do several for this project.  I decided to make a template of my own that is custom made for this project and is more rigid than the templates.

Materials

For this project, I used a piece of quarter inch pvc strip, about 1.5 inches wide and about 6 inches long, a steel six inch ruler, a pencil, a Prismacolor pen, drill, and drill bits.

Procedure


 This picture shows the materials I used for this project.  The plastic green sheet with the circles cut out is a template.  In trying to scribe or etch lines around conical objects, it is difficult to hold the template while scribing, so I wanted to make something that was more rigid.
 It is difficult to see, but I have drawn a line splitting the sheet of pvc in two.
 Here I have drilled out the holes that I need.  It is difficult to see, but I marked the diameter of each hole above and to the left of the hole.  The pvc I used may be too soft for most projects, as the drill tends to travel when cutting the holes, but it will be fine for this project.  I left a gap in my template because I did not have a certain diameter drill bit which I will add later.


As you can see, I can take a conical object and, using a scribe, etch a line around the object.  The yellow piece I have is a toy cone for a construction set and is just used to show how it would work.


Metal Gear TX-55

Creating a Metal Gear TX-55 

Inspiration


A TMP member named MrFrost posted this picture, looking for a mech like this.  I liked the mech, so I decided that I would try to build one.  My first step was to scale the picture the actual size that I was trying to achieve.  I realized that much of the model would have to be scratchbuilt, but I have some parts that I will be able to find adequate replacements.


Building the Cockpit


 I had three fairly reasonable choices for the cockpit - the cockpit from a small toy walker, the front of a Corsair, or the front end of the Osprey model.  In the end, I decided that the front end of the Osprey would give me the best look for the mech.  It was slightly wider than I wanted, but was close enough to the picture that I could use it.  I discarded the clear plastic canopy piece because it would not work sufficiently for what I wanted to achieve.  I would have to do too much filing on it, and the plastic would be marred, so I decided to cut the canopy "glass" from the windshields of model cars.  Also, it appears to me that there is an edge where the side glass of the canopy meets with the front glass, which I could probably not achieve if I were to use the original cockpit glass for the mech.


 Here is the Osprey after I had glued the two halves of the body together.  At this point, I had actually only glued the front, or left end in the picture, together because I may have use for the parts I don't use in later projects.
This is the fuselage after I have filed away parts of it, inclucing the nose.  If you look at the picture of the mech, you can see that the bottom of the cockpit is at a slight angle, so I compared the fuselage to the picture and cut and filed the nose down.


 I have cut the portion of the fuselage that I intend to use for the cockpit.  The blue lines are more cuts I have to make to get the piece to look right.
 A side view of the piece above.  Again, the blue lines are cuts I will have to make.  The triangular piece was cut out of a piece of scrap plastic, similar to name plates.
 A view of the other side of the piece.  Again, the blue lines are cuts I will have to make and the triangular piece was cut from scrap plastic.


 At this point, I have made the necessary cuts and almost finished the cockpit.  This would be the view of the cockpit as seen from the front with your head tilted to the right...or if the mech were laying on its right side.  In order to make the "channel" part of the cockpit, I used some scrap plastic, similar to that used in the previous photos and half of a missile body from a 1/72nd jet.  The clear top part of the cockpit was cut from a plastic cup I purchased at the dollar store.

 A side view of the cockpit.  I still have a small area to fill in that can be seen in about the middle near the top of the photo.
A view of the other side.  The area I need to fill in can be seen clearly to the right of the photo.  There is a slight marring toward the bottom of the cockpit - I had glued on a piece that is in the illustration, but was forced to remove.  It will be replaced later.


This is the beginning of the rail gun.  Unfortunately, the box I used was made from some really bad plastic, so my holes are off a bit.  The drill bit I was using would bite and drive sideways causing the piece to turn out poorly, but it will work for my purposes.  In looking at three-dimensional render of the mech, the rail gun appears to be about 5 inches (actual inches) long, but I felt that it looked too long and my box was only about three and a half inches long, so I changed the dimensions.